Most Popular Packages
Adding 1Password Secrets to Flox Environments
Ross Turk | 6 Aug 2024

You can build Flox environments that contain any combination of packages you can think of, and expand them beyond imagination using a properly-crafted bash activation hook. That is powerful stuff.
But most of our environments need to connect to something. Very rarely do our environments work in isolation; we almost always need to access some kind of service or bit of infra. Adding secrets into a Flox environment is something that we’re all likely to have to do from time to time - they help us connect it to the world around us.
Fortunately, it’s easy to add secrets to an environment using activation and profile hooks. In this post, I’ll show you how I load an OpenAI API key from 1Password into my default Flox environment.
I’ve chosen to read this secret into my environment as a variable. This may not always be the right choice; for particularly sensitive information, you might want to use 1Password’s injection capabilities, or its runner. These mechanisms can help ensure that secrets can’t be extracted from running environments.
The Simple Method
Depending on whether you have the 1Password GUI installed on the system where you’re doing your work, integration with Flox can be pretty easy. I did, and so my first attempt at this task was rather straightforward! Almost too easy. In the biz we call this foreshadowing.
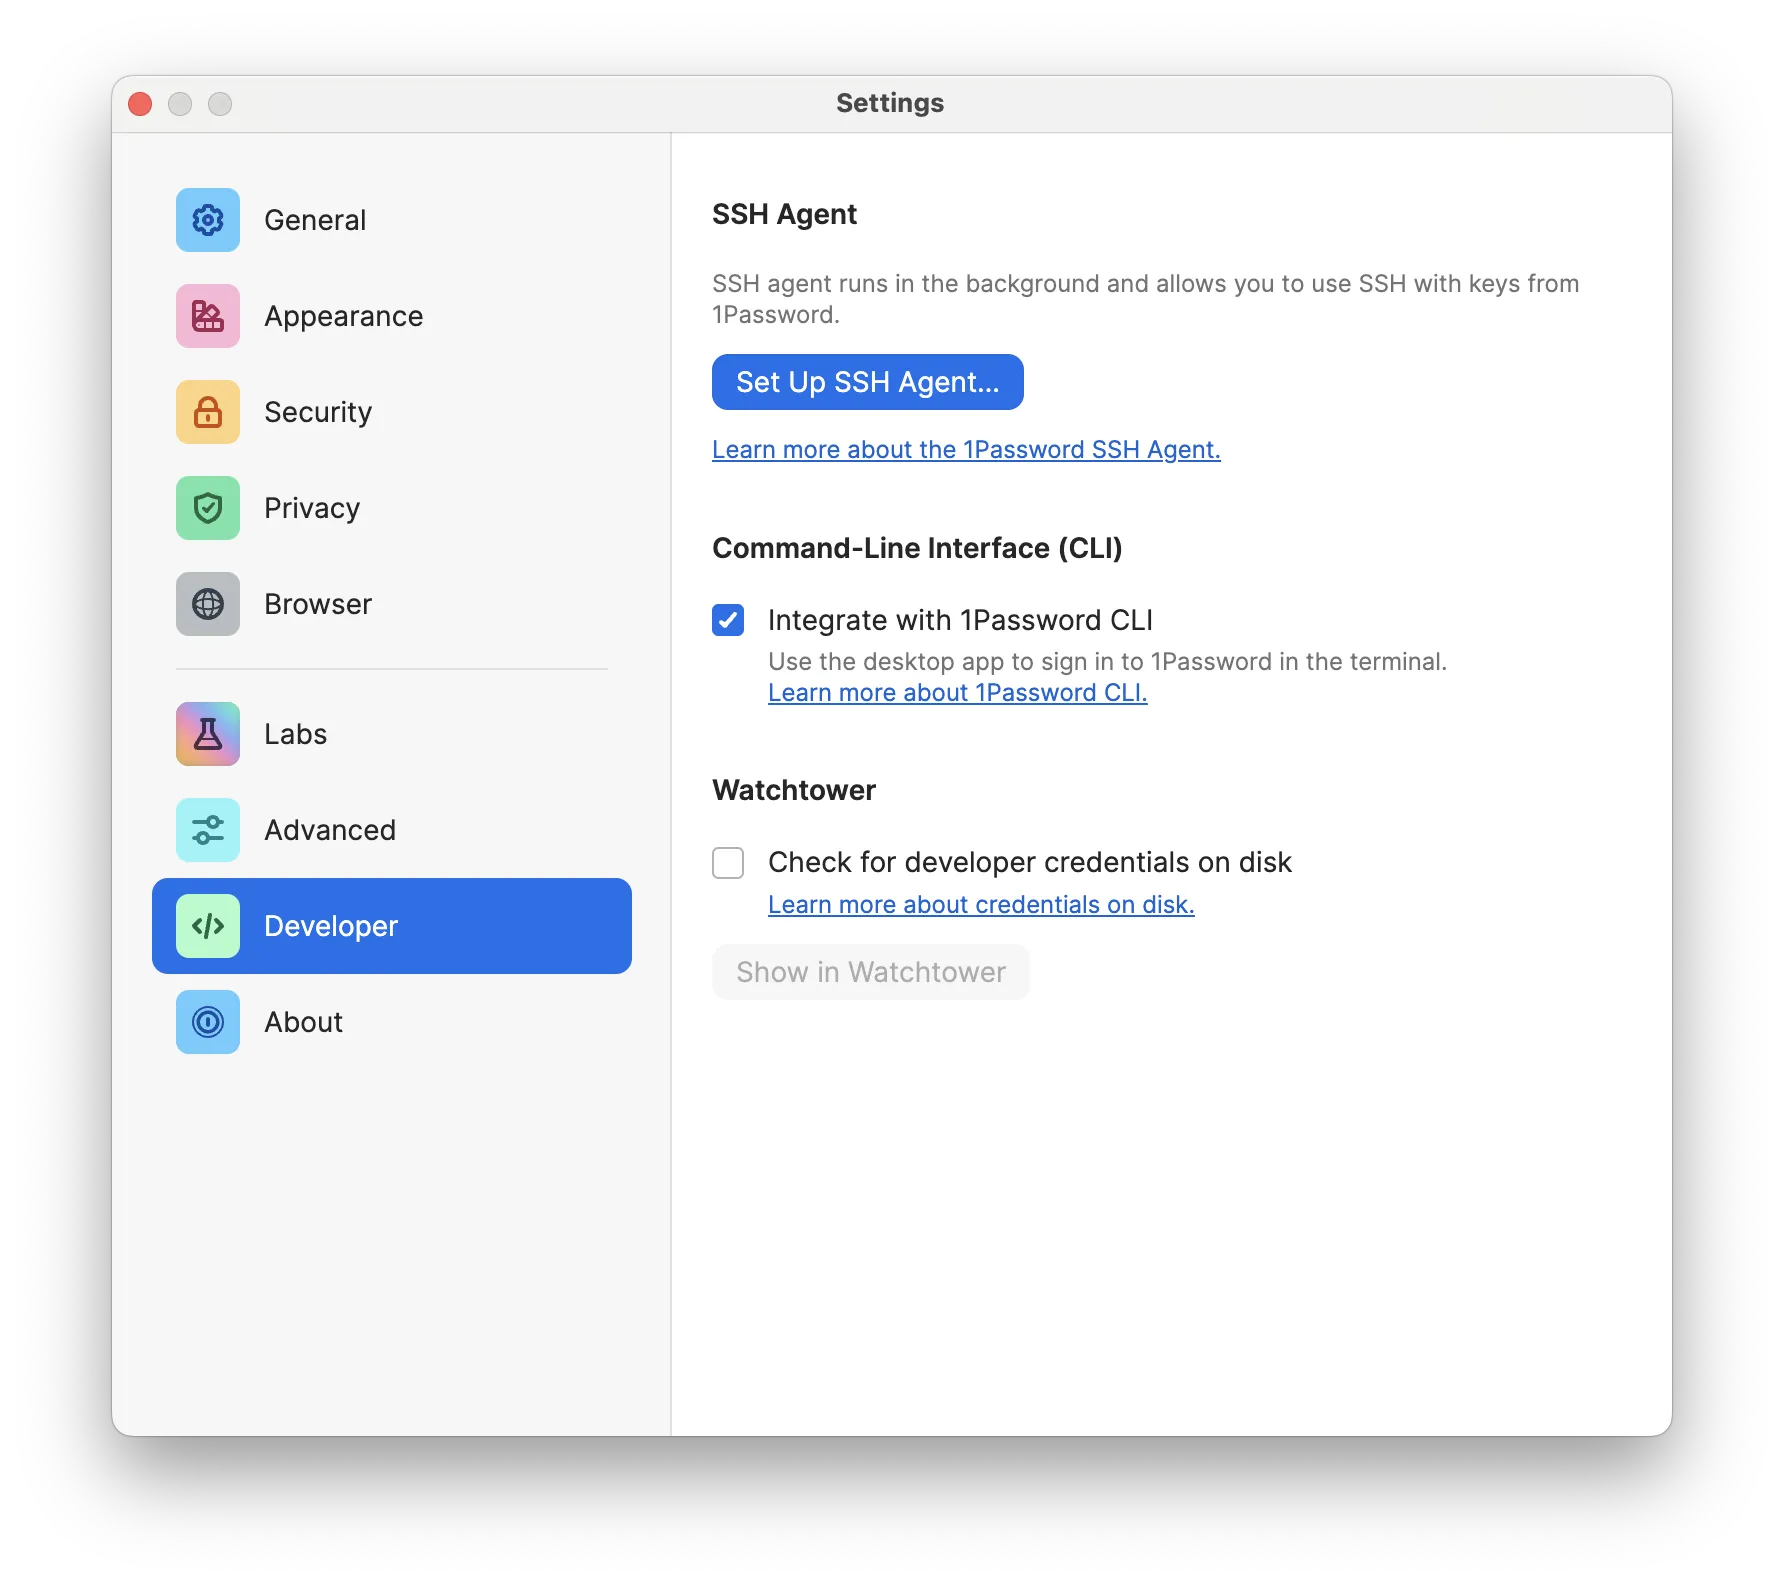
The 1Password GUI version 8 or later contains a CLI integration that can be enabled in the Settings -> Developer screen. Once enabled, all of the session management for the 1Password CLI is taken care of automatically. That sounds good to me! I did so first:

Then, I installed _1password into my default environment. There is an underscore at the beginning because package names can’t start with numbers, but don’t be fooled: this is the 1Password you are looking for.
~ % flox install _1password
⚠️  The package '_1password' has an unfree license, please verify the licensing terms of use
✅ '_1password' installed to environment 'default'
Finally, I ran flox edit and added a line into my activation hook that sets OPENAI_API_KEY to the output of an op item get command. The contents of the [hook.on-activate] section is executed in an isolated bash shell, but any variables exported will be gathered by Flox and re-set in the activated environment.
[hook]
on-activate = '''
  export OPENAI_API_KEY=$(op item get "OpenAI" --field "credential")
'''
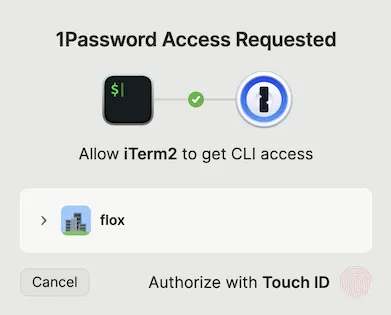
With this hook is in place, I am prompted to authenticate to 1Password whenever I activate my default environment unless an active session already exists. On macOS, this is done with a biometric scan using TouchID. It displays in a window on top of my terminal, and goes away once I scan my fingerprint.

I activated my environment and was able to quickly verify that it had set the environment variables that I needed by using an OpenAI tool. This command will respond with an error if it can’t connect to ChatGPT:
~ % mods "write a two-stanza love poem to 1Password"
Among myriad keys in the universe vast,
To unlock my secrets, I choose you to cast.
1Password, you hold my heart in your vault,
In your cyber embrace, my fears halt.

No confusion, no loss, not a hint of despair,
With you, 1Password, security’s not a rare.
My confidante in pixels, holder of my trust,
In the digital world, your protection’s a must.
This worked pretty well. When I spawned new terminal sessions, they each had the credentials I needed. After a while, my 1Password session expired and I needed to authenticate again, but it was a convenient experience.
I was happy, but I hadn’t yet brought all of this to my Linux servers. Dun dun DUN.
The More Complete Method
The AgileBits team did a wonderful job with their CLI/GUI integration, and it’s the way to go if you’re designing an environment for situations where you:
- have the 1Password GUI available,
- have a recent enough version, and
- have turned the CLI integration on.
However, this might not always be possible in all of the places you need to be. It certainly isn’t for me. I work in a lot of nooks and crannies where I have no GUI at all: servers, cloud instances, and embedded devices. For those spots, the 1Password GUI / CLI integration is not an option.
Fortunately, I had some valuable prototyping help from Flox’s Steve Swoyer. He showed me how to manually call op signin and capture the resulting token. That token can be used to authenticate subsequent calls to op. It can even be cached across environment activations, if this is something you’re comfortable with.
In my Linux environment, I stole a bit of Steve’s code and used it to expand my activation hook. I wanted to check for a valid 1Password session, and create one if needed:
on-activate = '''
    # Start OP secrets code
    CACHE="$HOME/.cache/op-session"
    OP_TOKEN=$( [[ -f "$CACHE" ]] && cat "$CACHE" )
    if ! op --session "${OP_TOKEN}" whoami >/dev/null 2>&1; then
        OP_TOKEN=$( op signin --raw 2>&1 )
        if op --session "${OP_TOKEN}" whoami >/dev/null 2>&1; then
            mkdir -p $(dirname "$CACHE") 2>/dev/null
            echo "${OP_TOKEN}" > "$CACHE"
            chmod 600 "$CACHE"
        else
            echo "1Password auth failed!" && return 1
        fi
    fi
    export op_token=$( [[ "$OP_TOKEN" ]] && echo "--session $OP_TOKEN" )
    # End OP secrets code

    export OPENAI_API_KEY=$(op $op_token item get "OpenAI" --field "credential")
'''
This block of code will first call op whoami, which is a good way to tell if there is a valid session. Upon not finding one, it will attempt to generate a token using op signin --raw, which will cause 1Password to go through its authentication flow.
The first time I ran this it went through a complete setup, prompting me for my sign-in address, email address, and secret key. Every subsequent time, though, it only asks me for my passphrase.
After the sign-in is complete, the script will immediately verify that the session is valid. Then, it will write it into ~/.cache/op-session so that I don’t have to do this every time I ssh back into this server. I chose to put this inside my home directory so it can be used in other environments; if I wanted to limit it to this environment, I’d have chosen $FLOX_ENV_CACHE/op-session instead.
Making it work everywhere
It's important to me that this environment still works when I use it on a system where I have the GUI installed. I want one environment that works everywhere.
Fortunately, the op whoami command causes systems with the GUI integration enabled to validate the current session and reauthenticate if necessary. This would otherwise happen in the op item get command at the bottom of the hook. On those systems, it means that most of the block is skipped.
However, for systems where we do have a token, it’s important that we pass it to subsequent op item commands; the hook does this by setting an op_token variable that is passed into the command-line for op. This variable contains the entire command line option (including the "--session" string) required to provide the token to op, and the variable will be empty on systems that do not require one.
This method works everywhere I do.
When you implement this in your environment, you may want to take this a step further by putting op signin in a loop so you’ve got more than one chance to enter your passphrase.
You may also want to create an alias in your profile section to pass the token to your op calls:
[profile]
bash = '''
    alias op="op $op_token"
'''
Since $op_token will be blank if the token doesn't exist, this will allow you to run op commands with or without a token.
Secrets are the key
With this simple activation hook, I am able to add secrets from 1Password into my Flox environment - whether I am on a system with the 1Password GUI installed or not. The 1Password CLI is now part of my default environment, and my secrets follow me wherever I go.
Flox is free to use, and we designed it to work the way you do. Hit our download page to get the latest.


