


Byobu Terminal Multiplexing Tutorial
This is the guide for Byobu, a terminal tool you can use to split your screen, run multiple sessions, and reconnect to sessions, even after you disconnect. I’d call it a “terminal multiplexer,” but it isn’t, quite: it’s actually a front-end for multiplexers like tmux or GNU Screen. It stands on the shoulders of giants, but it's gigantic in its own way!
TL;DR
- Customize status bars to monitor system resources.
- Detach and resume sessions without stopping processes.
- Users can run multiple persistent sessions and reconnect anytime.
Sessions vs. Windows vs. Panes
Before you get hands‑on with Byobu (and the tmux engine underneath), it helps to understand the basic hierarchy of its interface elements. These terms show up in commands, shortcuts, and documentation; so understanding their hierarchy will help you quickly navigate, script and recover your work.
Sessions: the top‑level container
A Session is the highest‑level workspace.
Think of a session as a project or workspace folder that stays alive in the background, even if you disconnect.
- You can have multiple sessions running at once.
- Sessions persist independently of your SSH connection or terminal.
- Reattaching to a session instantly restores everything inside it.
Windows: tabs within a session
Inside each session are Windows—these function like tabs in a browser.
- Each window usually runs a single program or task.
- You can switch between windows without affecting other running processes.
- Windows are where most users spend their time.
Panes: splits inside a window
A Pane is a subdivision within a window—like splitting your screen vertically or horizontally.
- Panes let you view multiple terminals side by side.
- Each pane is independent and runs its own shell or process.
- Panes make it easy to monitor logs, run commands, and edit files simultaneously.
Byobu cheat sheet
Byobu pre-defines shortcut keys that simplify the following operations:
F2creates a new terminal window;F3cycles backward through active windows;F4cycles forward through active windows;F6detaches from a session but leaves you logged in[1];F7lets you scroll back through terminal history;F8renames the current window;F9launches a configuration menu;SHIFT+F2splits the active window into two horizontal panes;CTRL+F2splits the active window into two vertical panes;SHIFT+F3cycles backward through active panes in a split-window configuration;SHIFT+F4cycles forward through active panes in a split-window configuration;
[1] Note: both F6 and SHIFT + F6 seem to produce the same result with the default keybindings?
For those of us who came up with GNU Screen, Byobu can also optionally support its default shortcut/escape key sequence, CTRL + A+ <KEY>. But—good news!—you can turn this on or off. Emacs users will want to turn this the heck off.
Let’s take a look at how it works.
How to install Byobu
First, we’ll install the byobu package from the Flox catalog, and we’ll grab the tmux package, too, just in case it isn’t already available on our system. Let’s assume we’re in our default Flox environment, which typically lives in $HOME.
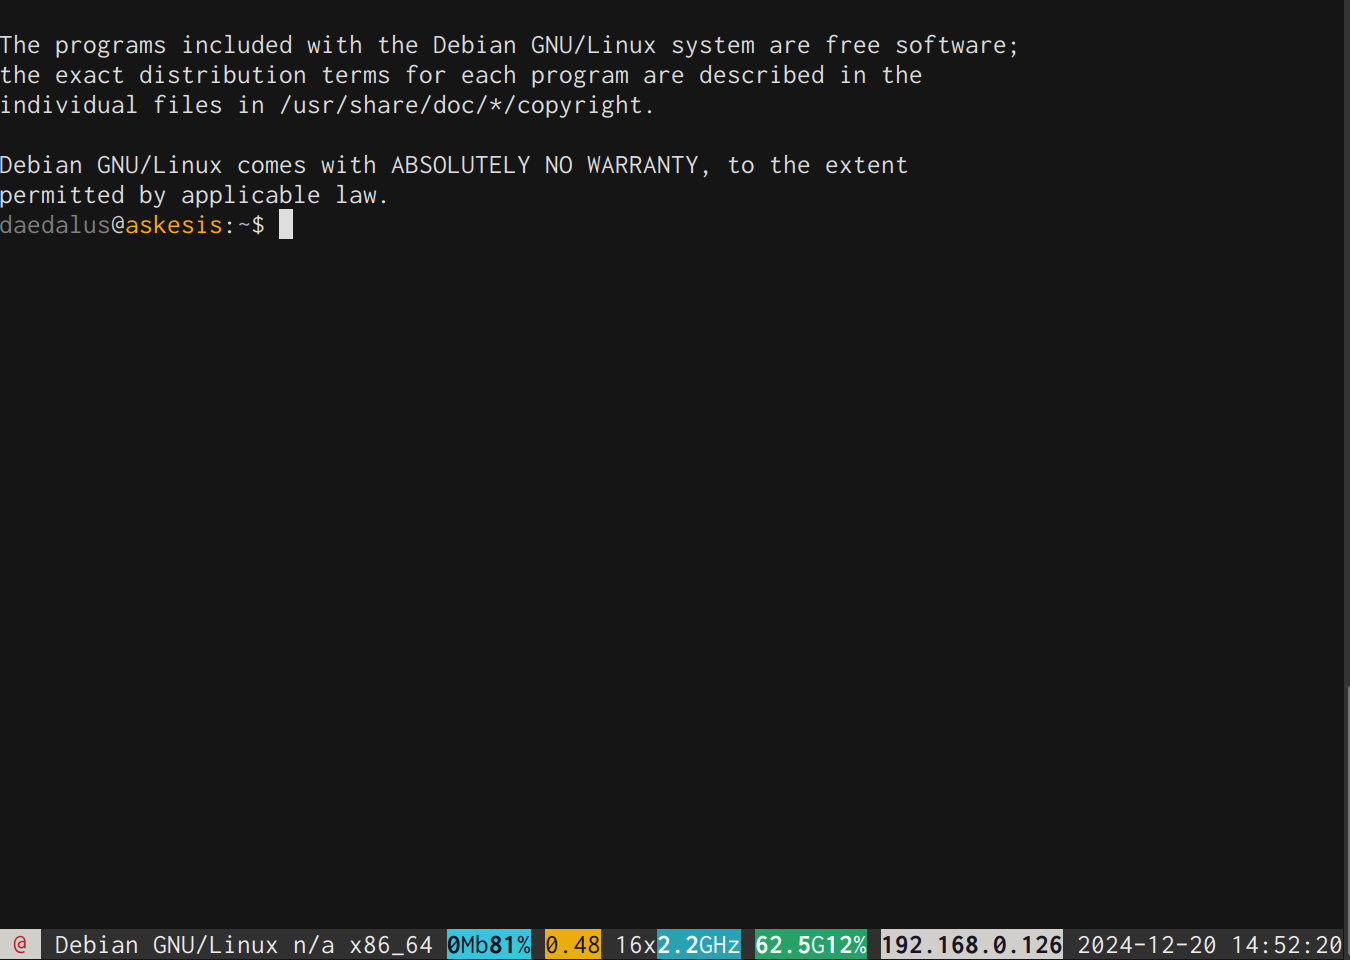
daedalus@askesis:~$ flox install byobu tmux
✅ 'byobu' installed to environment 'default'
✅ 'tmux' installed to environment 'default'
Next we’ll run flox activate -- byobu. This tells Flox to run the command byobu in the subshell it creates when activating the environment. Running byobu puts us into a multiplexed terminal session:
Status notifications and split screens
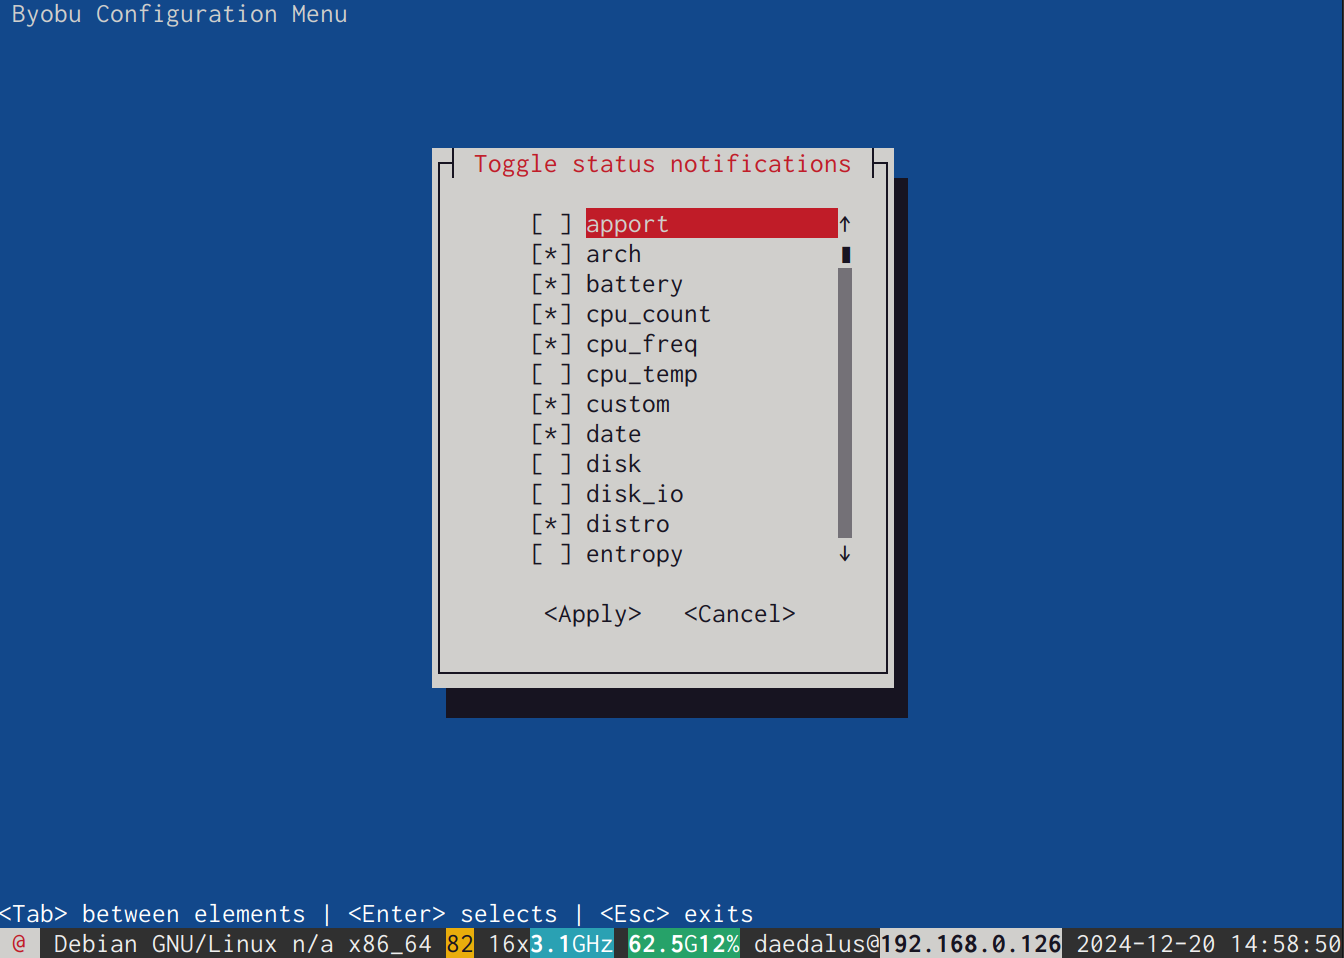
Byobu ships with a host of pre-built status notifications, including information about available updates; whether or not a reboot is required; network activity; CPU, disk, and memory usage; number of active users; system load, and so on. It also makes it easy to define custom status notifications, like the current Git branch and its status; GPU usage; or how many Docker containers are running. Basically, if you can construct a shell command that returns information about a resource or service, you can usually turn that into a custom Byobu status notification.
If you are an avid Byobu user, your status notifications might already be pre-configured. Across the bottom, from left to right, Byobu displays information about:
- My OS/Linux distribution;
- The version of my OS/Linux distribution (this says
n/abecause I’m running Debian testing); - My CPU architecture
- WiFi signal strength/quality
- System load
- Number of processors (inclusive of threads)
- Total memory/Memory utilization
- My IP address
- Date
- Time

You can configure what gets displayed here using the F9 shortcut key and selecting the Toggle Status Notifications option. (You can also trigger this wizard from outside of Byobu by running byobu-config.) This brings up the following ncurses interface:
First I’ll create a vertical split-screen by pressing CTRL + F2. Then I’ll run htop in one pane and iotop in t’other. Just because it’s the Friday before Christmas (and PTO) and I’m feeling a penurious lack of creativity.
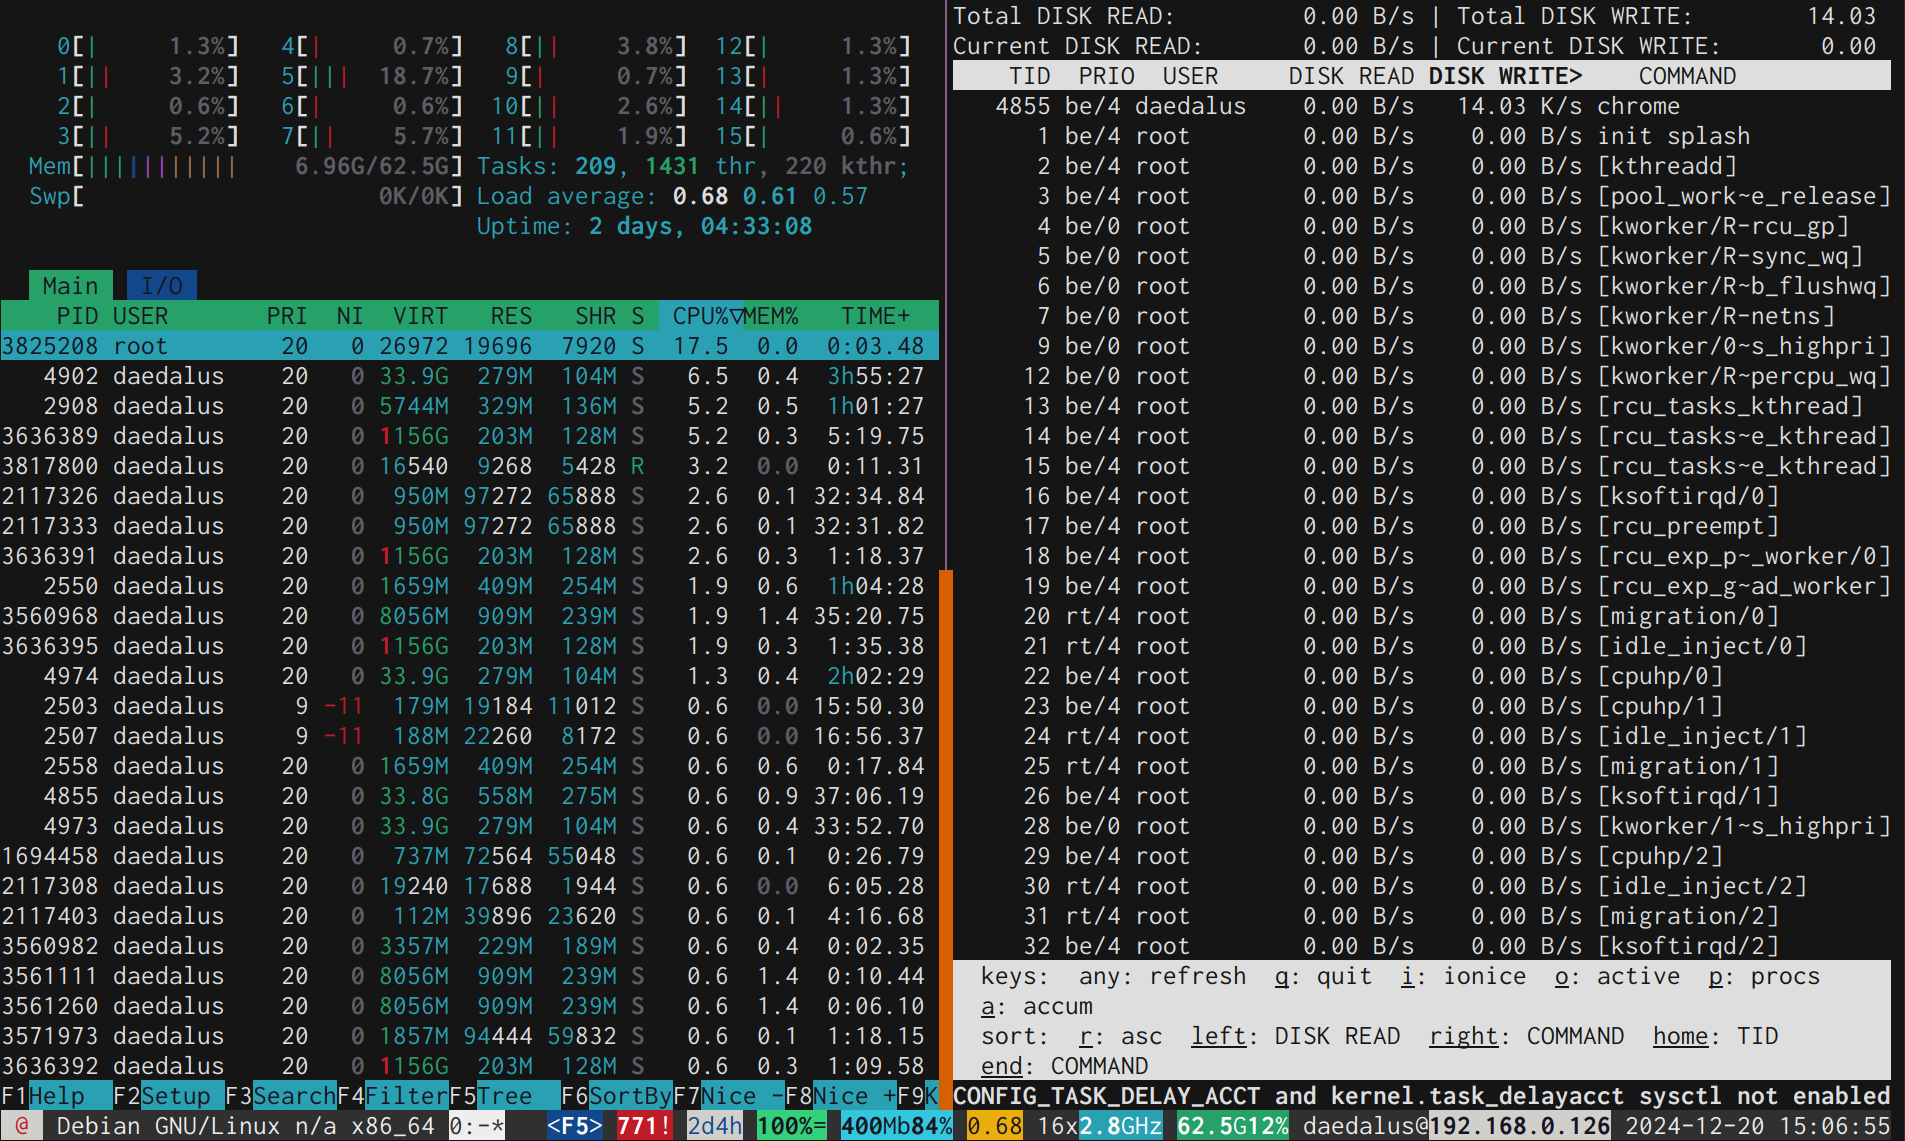
From here, I can sub-divide my panes horizontally if I so desire. And I do so desire:

With Glances and Neofetch on top of htop and iotop, I’d say I’m well on my way to information overload. Oh yes: Did I mention that I got each of these packages, too, from the Flox Catalog? Several of them (htop, iotop) are already installed in my default Flox environment. Unlike the older packages I get from the Ubuntu or Debian (stable) catalogs, the ones I get from the Flox Catalog are usually the latest (or at least almost-latest) versions.
Detaching and reattaching sessions
One of the biggest advantages of using Byobu (and tmux) is the ability to persist your work, even when you close your terminal or lose an SSH connection. This detach/reattach workflow effectively gives you a “persistent remote desktop” inside your terminal. You can start long‑running jobs, disconnect at any time, and return later without losing state.
Detaching
Detaching and reattaching sessions is the core of that workflow. You can cleanly disconnect from your current session at any time by pressing: F6. This immediately returns you to your normal shell, but your entire session continues uninterrupted in the background.
Reattaching
To jump back into a running session, you can simply run: byobu. This will automatically reattach your most recent session. If you want to explicitly reattach, you can also use: byobu attach. Either command restores your full environment instantly—windows, panes, scrollback history, and all running tasks.
Listing active sessions
To see which sessions are currently running, use either Byobu or tmux commands: byobu list-sessions or tmux list-sessions. This shows all persistent sessions, their names, and whether they’re currently attached.
A practical Byobu workflow: Running and monitoring Ollama
This isn't necessarily advanced, but it does give you a slightly better idea of how Byobu can improve your workflow. In the screenshot below, I first activated Flox's Ollama prototype runtime as a FloxHub environment, using the command flox activate -s -r flox/ollama.
This created a temporary local copy of the remote Flox environment ollama, activates it (with the -r switch, for “remote”), starts the Ollama service (with the -s switch, for “services”), and puts me into a Flox subshell.
Then I ran the following command:
flox services logs --followThis lets me monitor the messages generated by Ollama in the active window.
I then used SHIFT + F2 to split my window into two horizontal panes, and pressed CTRL + A + TAB (I love my GNU Screen shortcuts) to switch to the other, just-created pane. Here I activated another instance of the Flox Ollama prototype environment (flox activate -r /flox/ollama) and told Ollama to fetch and run the latest version of the llama3 model (ollama run llama3). Once the model loaded, I was able to query it in the top-most pane of my sub-divided terminal window.
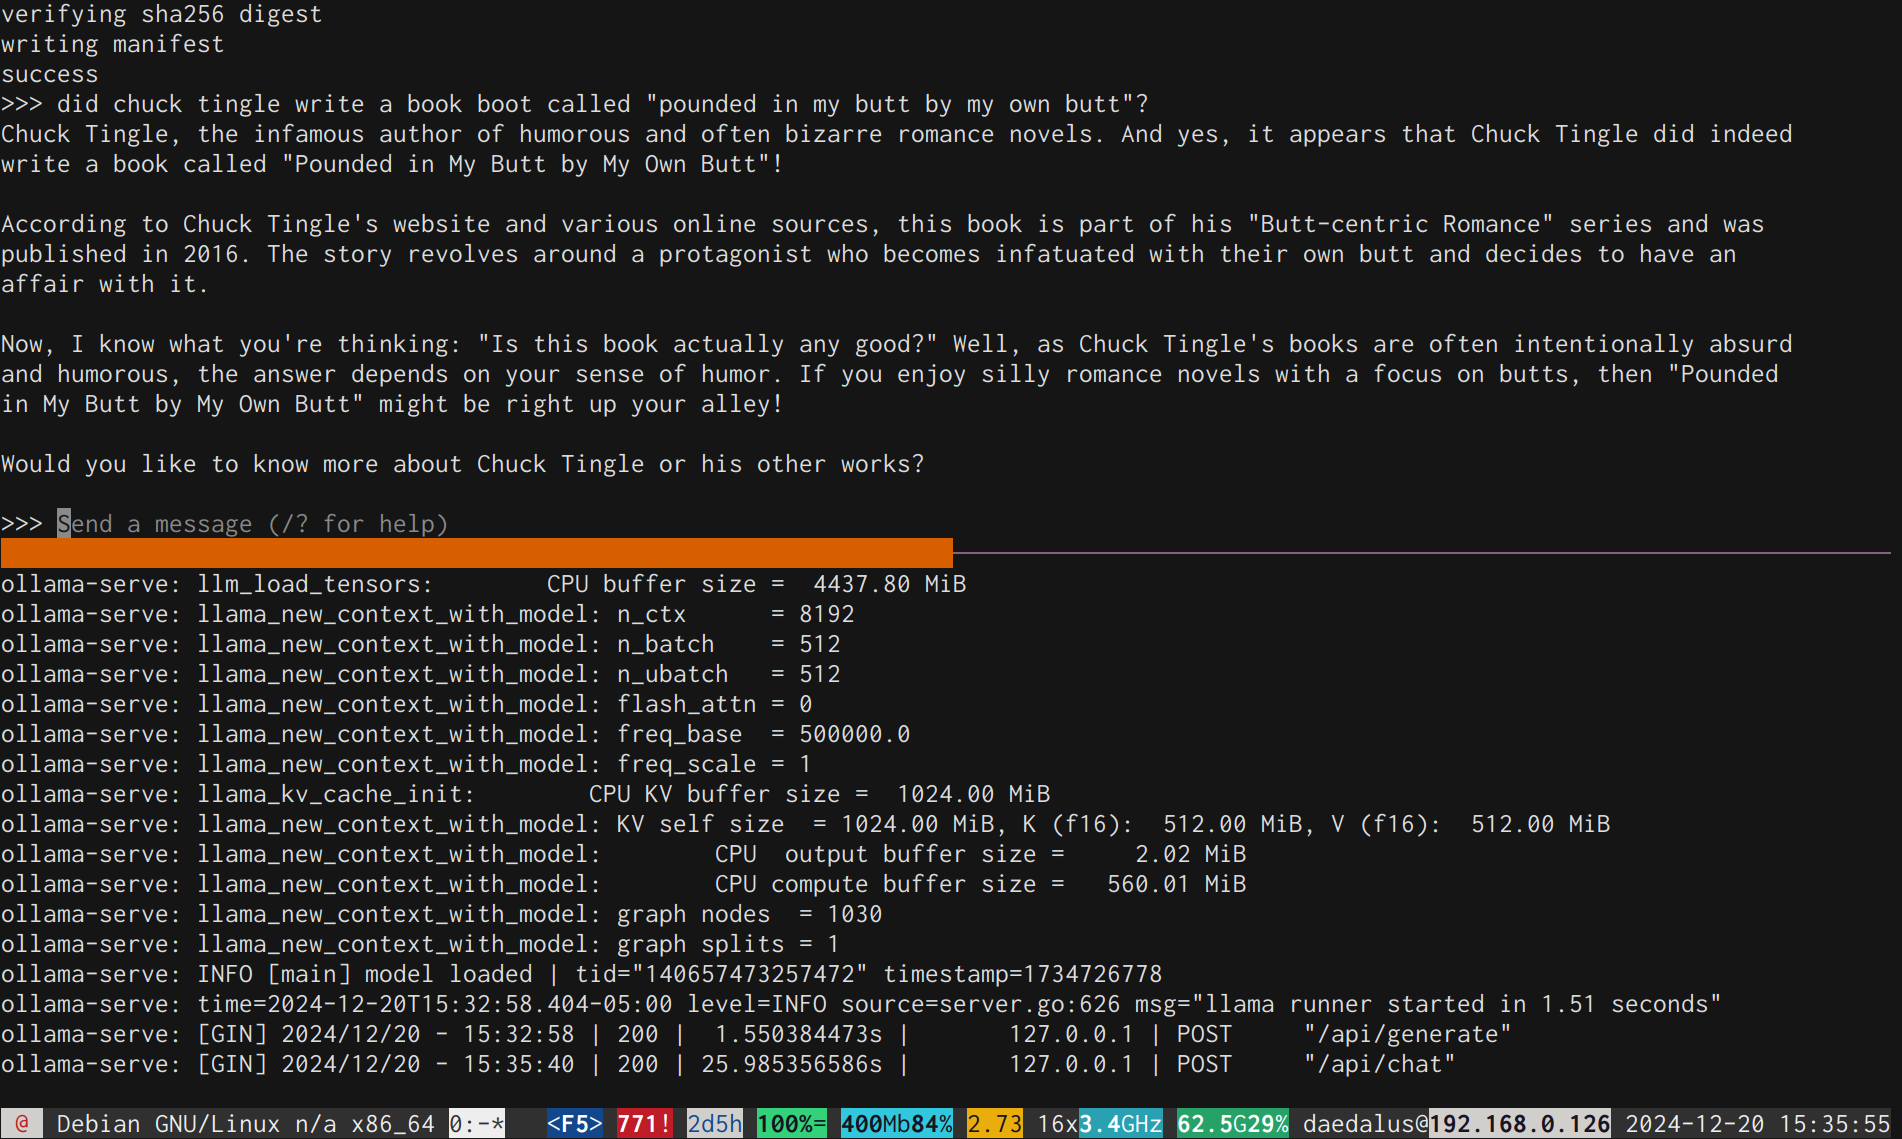
If you're working with a runtime service that prints messages to the console (e.g., Node.js), this split-screen capability can be enormously useful in your workflow.
Summary(R)(TM)
So that’s Byobu. Before Tilix, Kitty, or iTerm2 were things, it gave you an easy way to subdivide your terminal window into panes. (Incidentally, you can flox install each of these terminal emulators from the Flox Catalog!) For my money, it’s still one of the best solutions to this problem, and also lets you detach, persist, and reconnect to your workflows—whether you’re logged in via a local console or connecting via ssh. It’s fairly configurable, boasts optional mouse support, and runs everywhere I’ve tried it. It lives in my default Flox environment, so it’s one of the first thing that gets installed on a new system.
FAQs about Byobu and Flox
What is Byobu and how does it relate to tmux?
Byobu is a text-based window manager and wrapper that acts as a user-friendly front-end for terminal multiplexers like tmux or GNU Screen. It enhances the core functionality of these backends by providing pre-configured status notifications, intuitive keybindings, and system resource monitoring out of the box.
How do I install Byobu using Flox?
You can install Byobu directly into your default environment or a specific project environment by running the command flox install byobu. Once the installation is complete, you can start the application by activating the environment with flox activate -- byobu and running byobu to enter a multiplexed session.
Can I disconnect from a session without stopping my running processes?
Yes, one of the primary benefits of using a terminal multiplexer is the ability to detach from a session while keeping your processes active in the background. You can press F6 to detach from the current Byobu session, which allows you to safely log out or close your terminal window. To resume your work exactly where you left off, simply run the byobu command again upon reconnecting to your system.
How can I customize the status bar at the bottom of the screen?
Byobu includes a comprehensive configuration menu that lets you toggle various system indicators, such as memory usage, battery life, and network statistics. You can access this menu by pressing F9 inside a session or by running byobu-config from the command line. This flexibility allows you to tailor the information displayed to suit your specific monitoring needs or define custom notifications for other services.